WaveSurfer Guide for L541
Part 5: Printing
[Index |
1 | 2 | 3
| 4 | 5 | 6
| 7 | 8 | 9
|10]
Printing a file in Mac is simple, but printing in Windows requires three additional
(but free) software and some familialization to ps files. This guide is mainly
for windows users.
There are two ways to print images (waveform, spectrogram, power plot, etc.)
created by WaveSurfer. I will call these two printing methods as Easy
Printing and Standard Printing.
Easy Printing
- Click anywhere in WaveSurfer window. Press Alt-key and
PrintScreen-key at the same time.
- You don't see any changes. But, by pressing Alt and PrintScreen, you copied
the image to your clipboard. Now all you need is to paste the image to a program
that can deal with image files. You can use Photoshop, Illustrator, or Microsoft
Paint. Let's use Microsoft Paint because any Windows system has MS Paint.
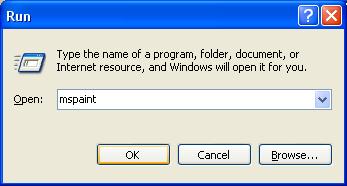
- To launch Microsoft Paint, from Windows Start menu, choose
Run. Type mspaint and click OK.
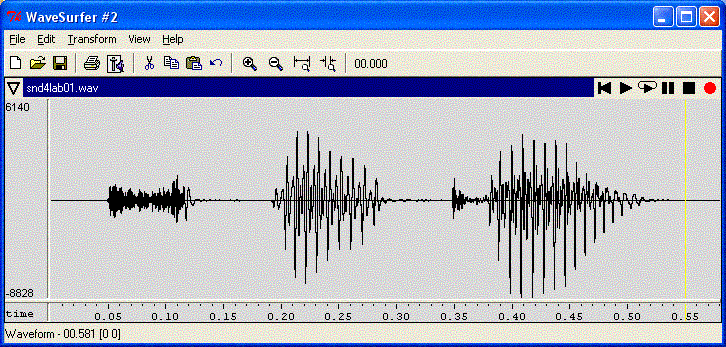
- From the Menu in Microsoft Paint, select Edit to
Paste (or Ctrl+ v). You should see the image like this:
- Now you can save the image in your favorite format.
- bitmap is a non-compressed image format. File size will be very large.
Select format with higher color resolution for images to be used in paper
or poster.
- jpeg is a compressed format. File size will be small.
Standard Printing
First of all, download and install the following programs. If your printer
support ps files, you don't need to install GhostScript. If you don't know what
I'm talking about, it's probably safe to install Ghostscript. The latest Ghostscript
and GSView are available at http://www.cs.wisc.edu/~ghost/doc/AFPL/index.htm.
- When you are ready to print out your work, select File
and Print from the WaveSurfer menu bar. You will see a new
window like this:
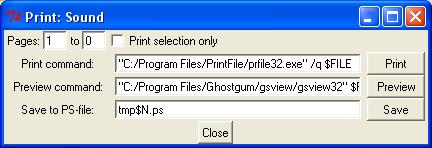
- Click Save. You saved the ps file as "tmp0.ps".
- Double-click the ps file you saved. GSView automatically starts. If you
don't register, click OK button in the registration window.
- Click printer button to print out the file.
Notes:
- Make sure you select the portion you want to print out.
- Check "Print selection only" if needed.
- Resize the WaveSurfer window size if needed. The WaveSurfer window size
reflects to the ps file. It should not exceed 8.5x11 letter-size for optimal
outputs. If the window is too large, the page indicators in the Print window
shows "Pages 1 to 2 (or greater)".
Prepared by Kyoko Nagao
Last updated on Feb 2, 2004